Launch offer: all Silver listings are free.
Reach serious buyers with no hidden fees — now with video and reel-ready listings.
Launch offer: all Silver listings are free.
Add key information to get your property seen by buyers fast.

We'll show your home on the map to help buyers find it.

Add photos, description, and price — then choose how you want to present your property:
This helps your listing stand out and be discovered earlier.

Yes! You can avoid agency commission (often 1%–2%) and save £5,000 –£10,000 on a £500K+ property.
Every listing can include a short video to help buyers understand it faster.
Reels are shown on the map and can be shared across social media — helping buyers discover your property before they start searching.
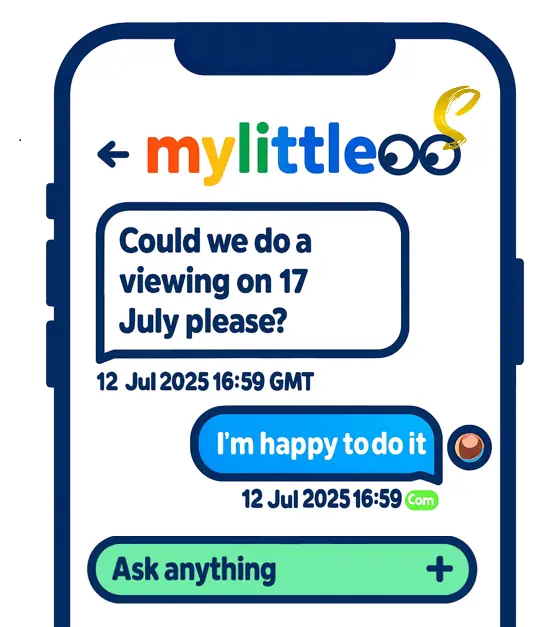
Reply to enquiries, book viewings that suit you, or set up an Open Day in minutes. Buyers can also view your property through your reel before booking.
Keep in touch with buyers via messaging and show your home on your schedule. Prefer everything in one go? Create an Open Day — pick your date and time window, and we'll generate bookable 10–15 minute slots with automatic confirmations and reminders.
Notice the little robot in the top-right corner? That's MyLittleBot. Click it anytime to open your step-by-step Sell Journey, where you can follow every stage — from setting the right price and preparing your home, to marketing, offers, exchange and completion.
The bot connects you to the right tools and services as you go: Online valuation, photography & floor plan booking, EPC and compliance checks, offer tracking, conveyancer contact, and even handover checklists for completion day.
Mark steps as Done, undo them anytime, and come back later to pick up exactly where you left off — all in one place. It also helps you create and optimise your property reel to improve visibility.
Log each offer, check proof of funds/Mortgage in Principle and chain position, compare side-by-side, and agree clear heads of terms before proceeding to solicitors.

Record every offer with buyer details, chain position and notes. Request proof of funds or a Mortgage in Principle. Compare like-for-like, track changes and keep a clear paper trail, then accept, counter, or politely decline with confidence.

Once you've chosen a buyer, confirm the price, target dates (exchange/completion), included items and conditions. Share the agreed heads of terms with both conveyancers so they can issue the memorandum of sale and move the file to legals.
Have they instructed a conveyancer, paid for searches, booked the survey and submitted a full mortgage application? Ask for dates.
Your conveyancers handle the legal work. We keep you organised with meter reads, utilities and a simple handover.
Contracts are signed and the buyer usually pays an exchange deposit (often ~10%) to their solicitor. The completion date is fixed, inclusions are confirmed, and you line up removals and buildings insurance to start from exchange.

On completion, the balance is transferred and keys are released. Take final meter readings with photos, leave manuals/warranties and useful notes, and notify utilities and council. Our checklists make this easy.
Confirm access/parking for the movers, label a full key set, and prepare a short handover sheet for the buyer. You'll avoid last-minute calls and keep completion day calm.
Reach thousands of tenants with no hidden fees — now with video and reel-ready listings.
Launch offer: all Silver listings are free.
Get started quickly — just fill in the basics and you're good to go!
Input your address or postcode to locate your property.
Upload photos, add description and set your rental price — then choose how to present your property:
This helps tenants understand your property faster and increases visibility.
Letting agents charge 8–18% of annual rent plus £200–£500 setup fees. By doing it yourself, you could save £1,500–£3,500 a year.
Every rental listing can include a short video to help tenants view it instantly.
Reels appear on the map and can be shared, helping tenants discover your property before they actively search.
Reply to enquiries, share access details, and book viewings that work for you — or run an Open Day in minutes. Tenants can also preview your property through your reel before arranging a viewing.
Chat with applicants, confirm times in one click, and send clear access notes. Prefer to batch interest? Set an Open Day — pick a window and we'll generate bookable slots, send automatic confirmations and reminders, and help capture feedback after each visit.
Notice the small robot in the top-right corner? That's MyLittleBot. Click it any time to open your step-by-step Let Journey, designed to guide you smoothly from deciding to let, all the way through onboarding and ongoing management.
The bot walks you through every stage of the process — pricing and yield checks, safety and compliance setup, listing creation, marketing and viewings, offer comparisons, referencing, tenancy agreement signing, deposit registration, and check-in. Each step links directly to the right tool or checklist you'll need.
You can mark steps as Done, undo them any time, and return later to pick up right where you left off. It's the simplest way to stay organised and make sure nothing is missed before, during, and after move-in. It also helps you create and optimise your property reel to improve visibility and tenant interest.
Lock down the headline terms, confirm availability, and start referencing for your preferred tenant.
Set the move-in date and initial period details, confirm rent and deposit (within cap), note inclusions, and record any agreed pet-request terms.

Request ID, income and previous-landlord references, and run credit/affordability checks to confirm the applicant can proceed.
Consider a suitable guarantor, additional income evidence, or a shorter initial term. Keep assessments consistent and documented.
Collect first rent and deposit, sign the tenancy agreement, protect the deposit, then check-in and hand over keys.

E-sign the tenancy agreement with the exact terms agreed. Collect the first month's rent and the tenancy deposit (within the legal cap), protect the deposit in an approved scheme within 30 days, serve the Prescribed Information, and set up the standing order for ongoing rent.
Walk through the property with the tenant, record a dated photo inventory and meter readings, list all keys/fobs issued, and share a simple welcome pack (how to report maintenance, bin days, building rules). Obtain inventory sign-off to minimise end-of-tenancy disputes.
Protect the deposit and serve the Prescribed Information within 30 days, have the inventory signed within the first week, and keep dated photos and receipts together with the tenancy agreement. Clear records now prevent headaches later.