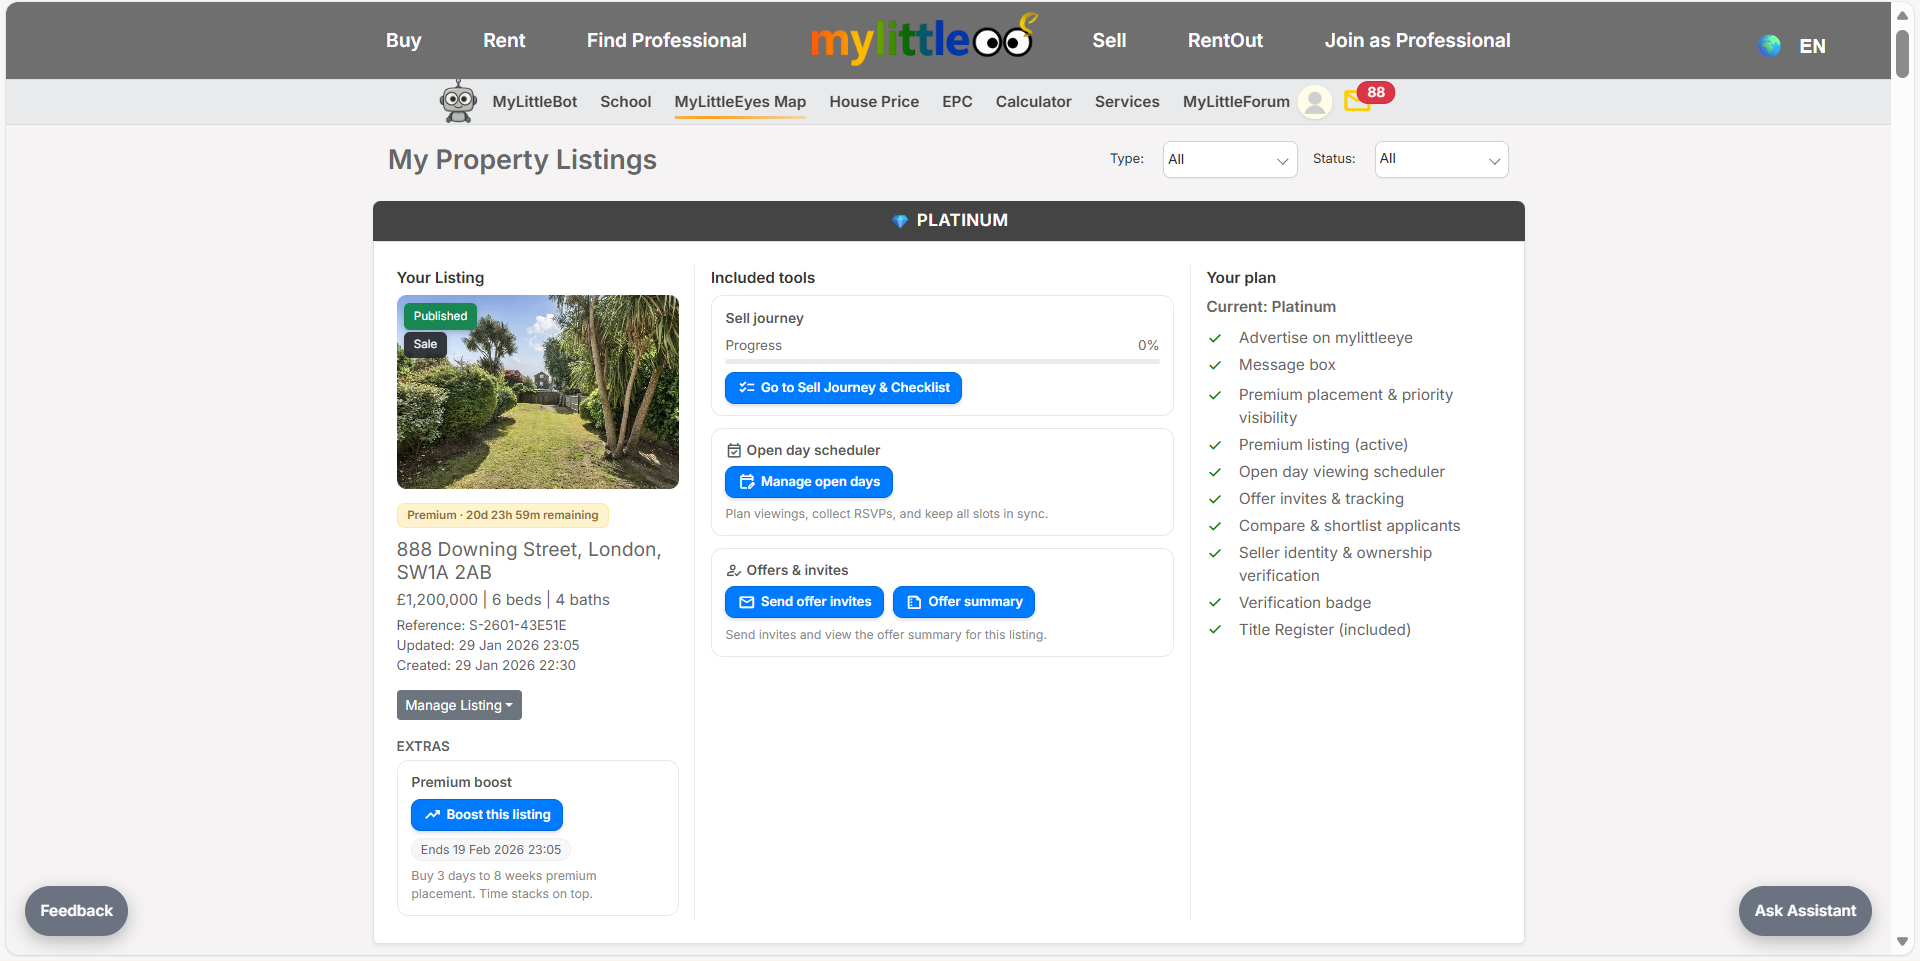
Launch offer: all Silver listings are free.
Create an open day event, manage slots, and keep visitors updated.
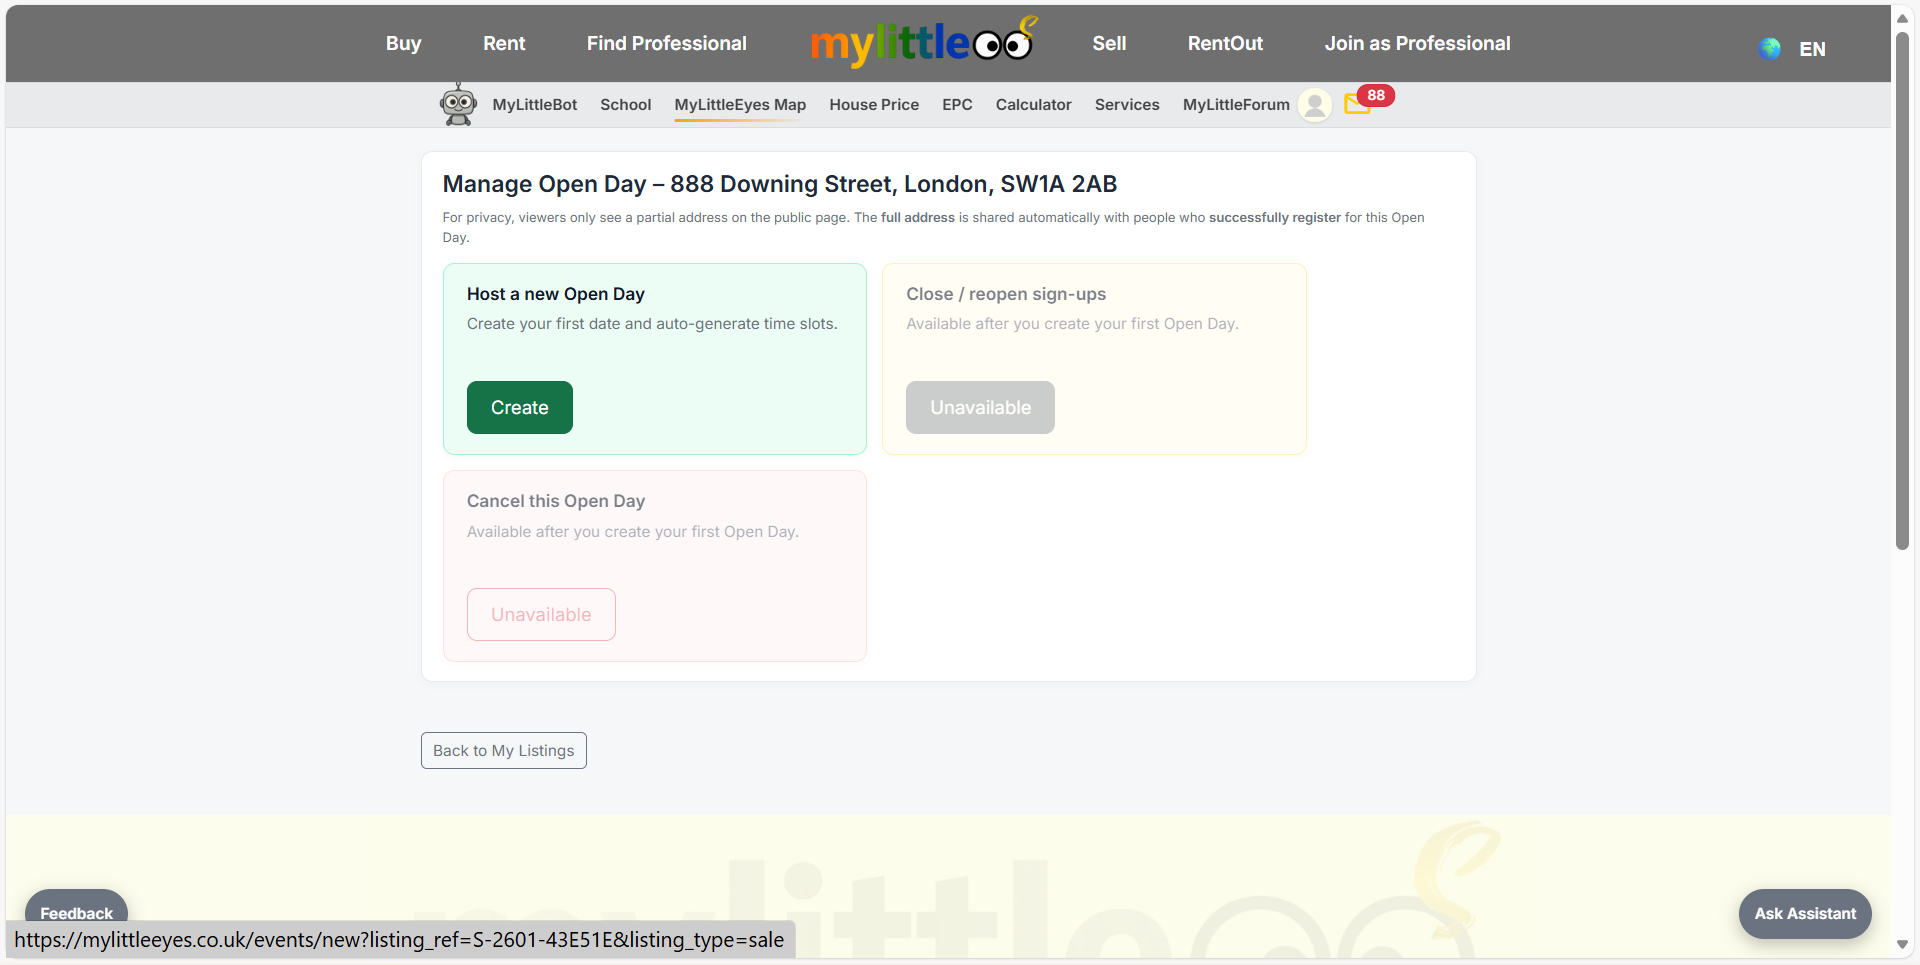
From My Listings, use Manage open days on your property to start scheduling.
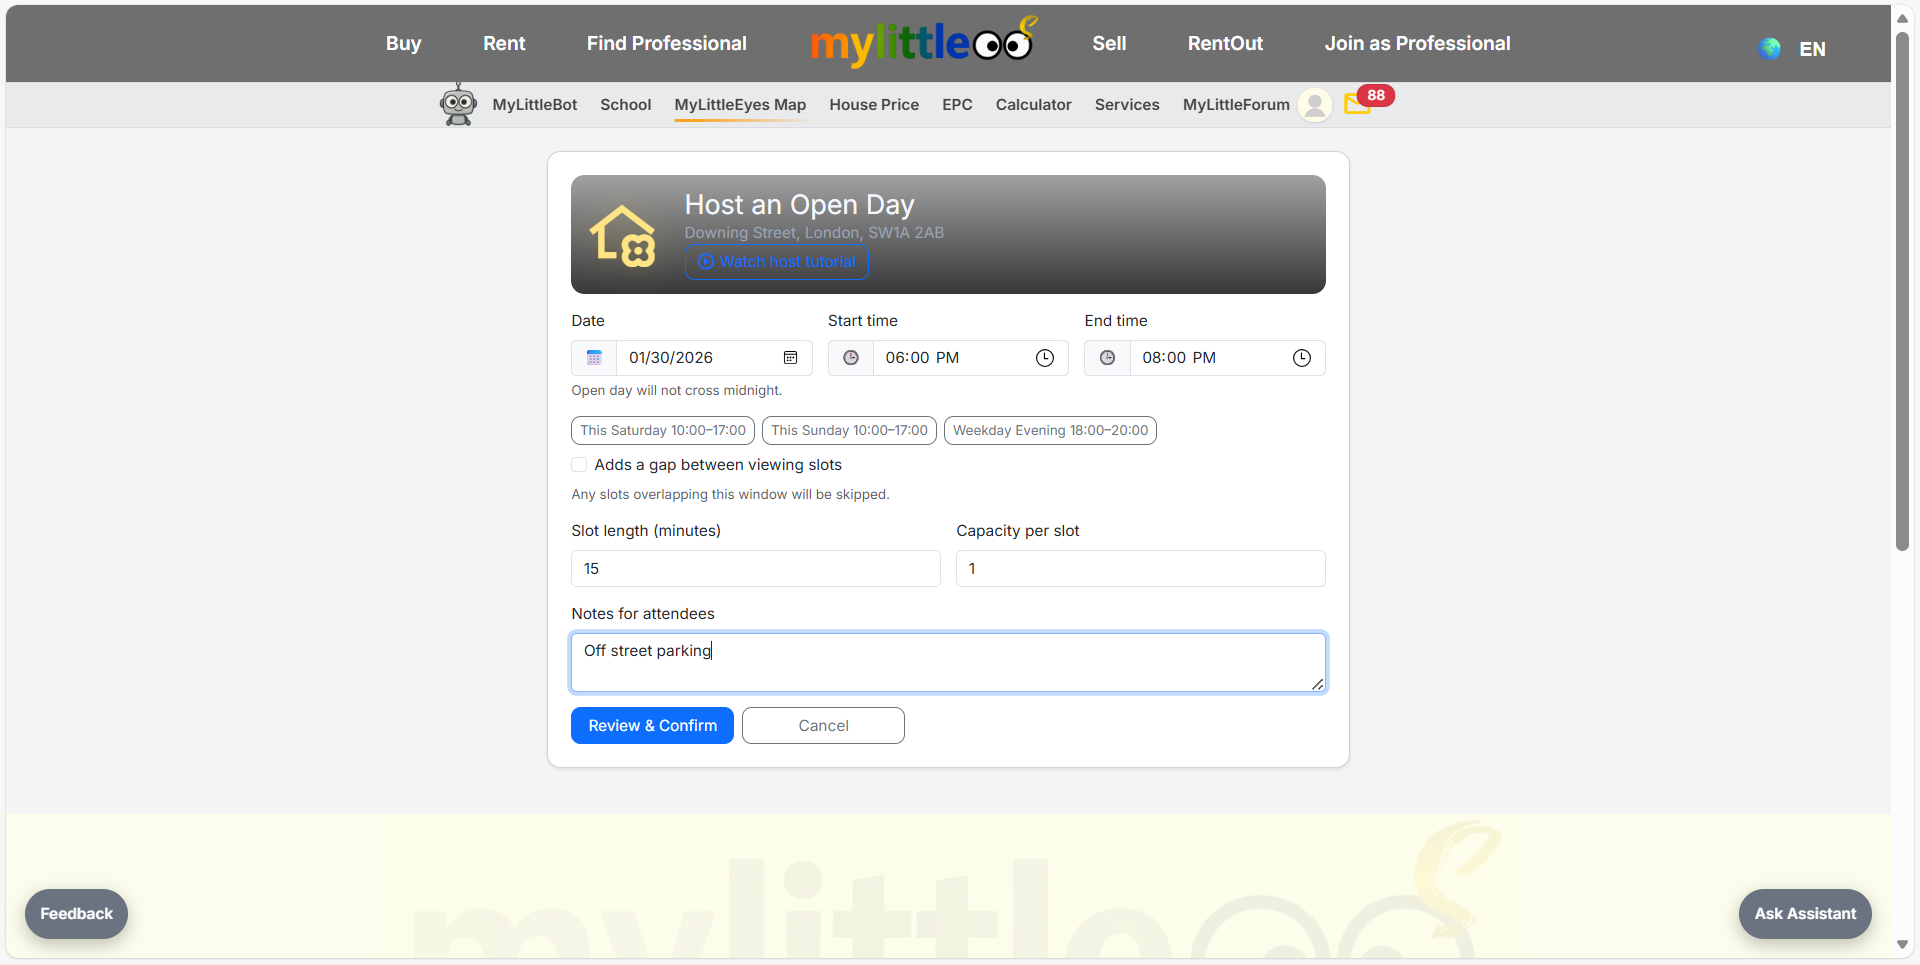
Click Host a new Open Day to create your first date and generate slots.
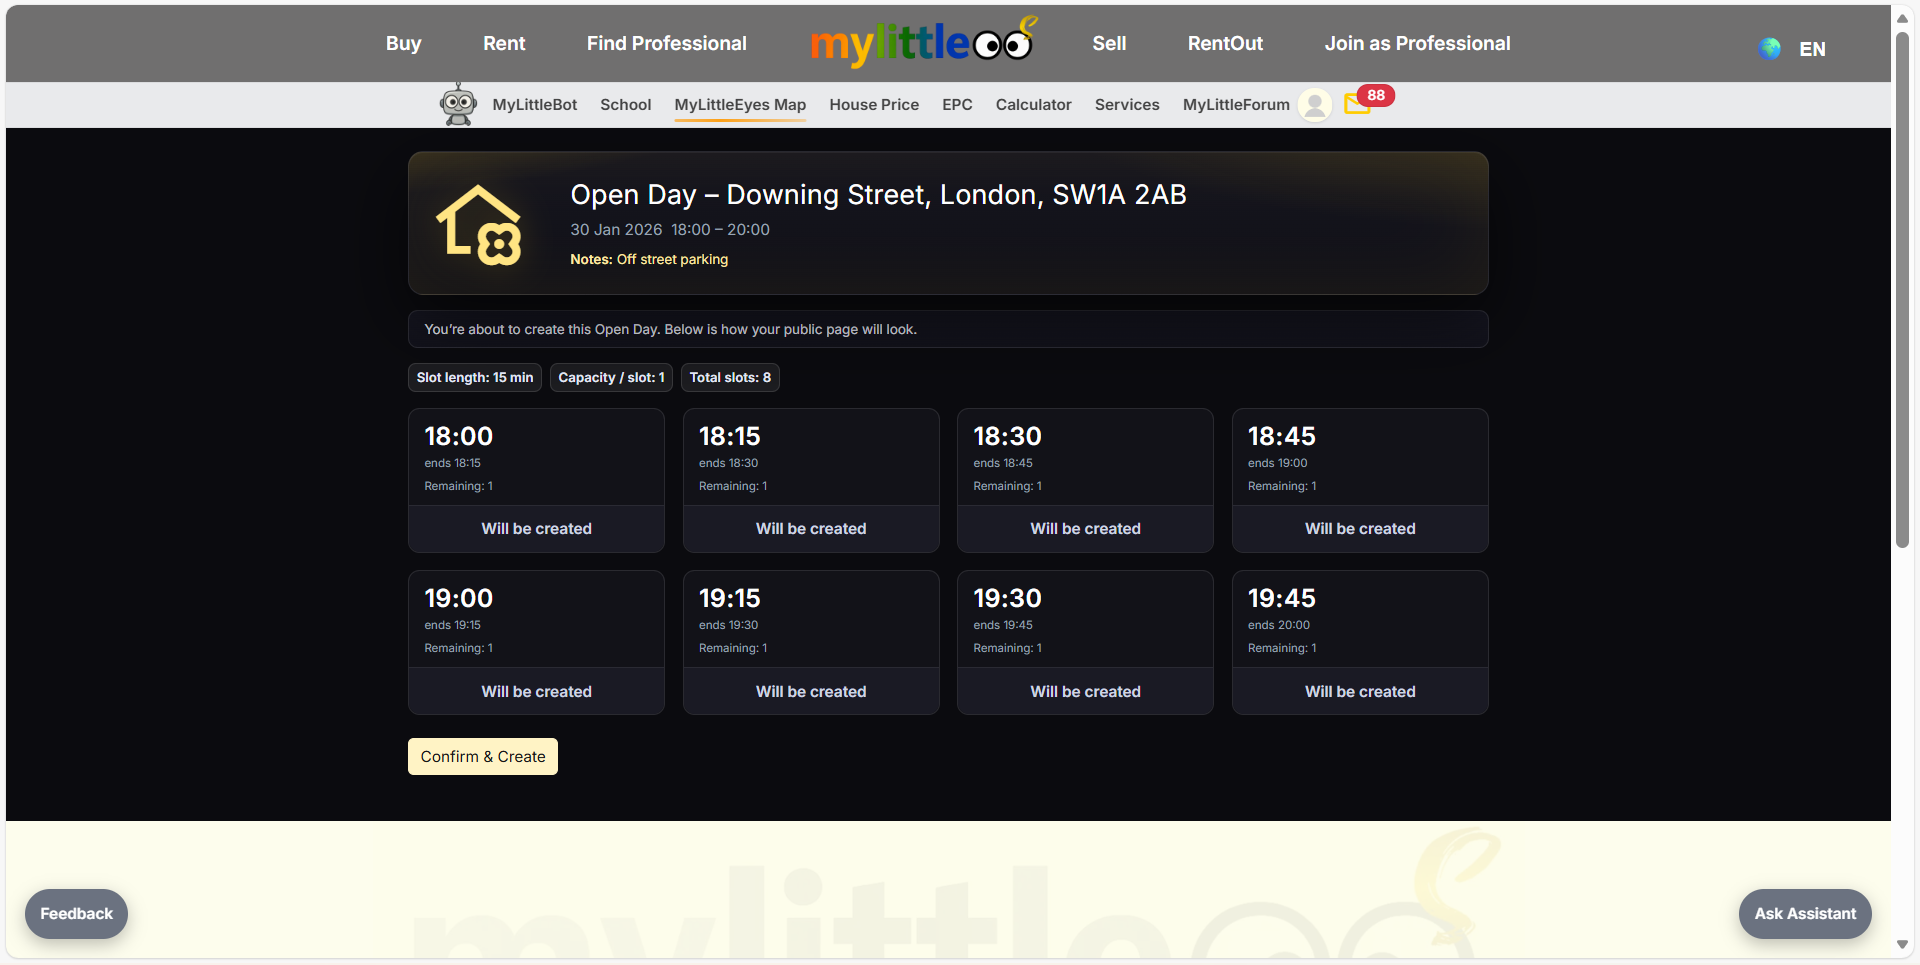
Pick the date/time window, slot length, capacity per slot, and attendee notes, then Review & Confirm.
Check the preview to see every slot that will be created and confirm when ready.
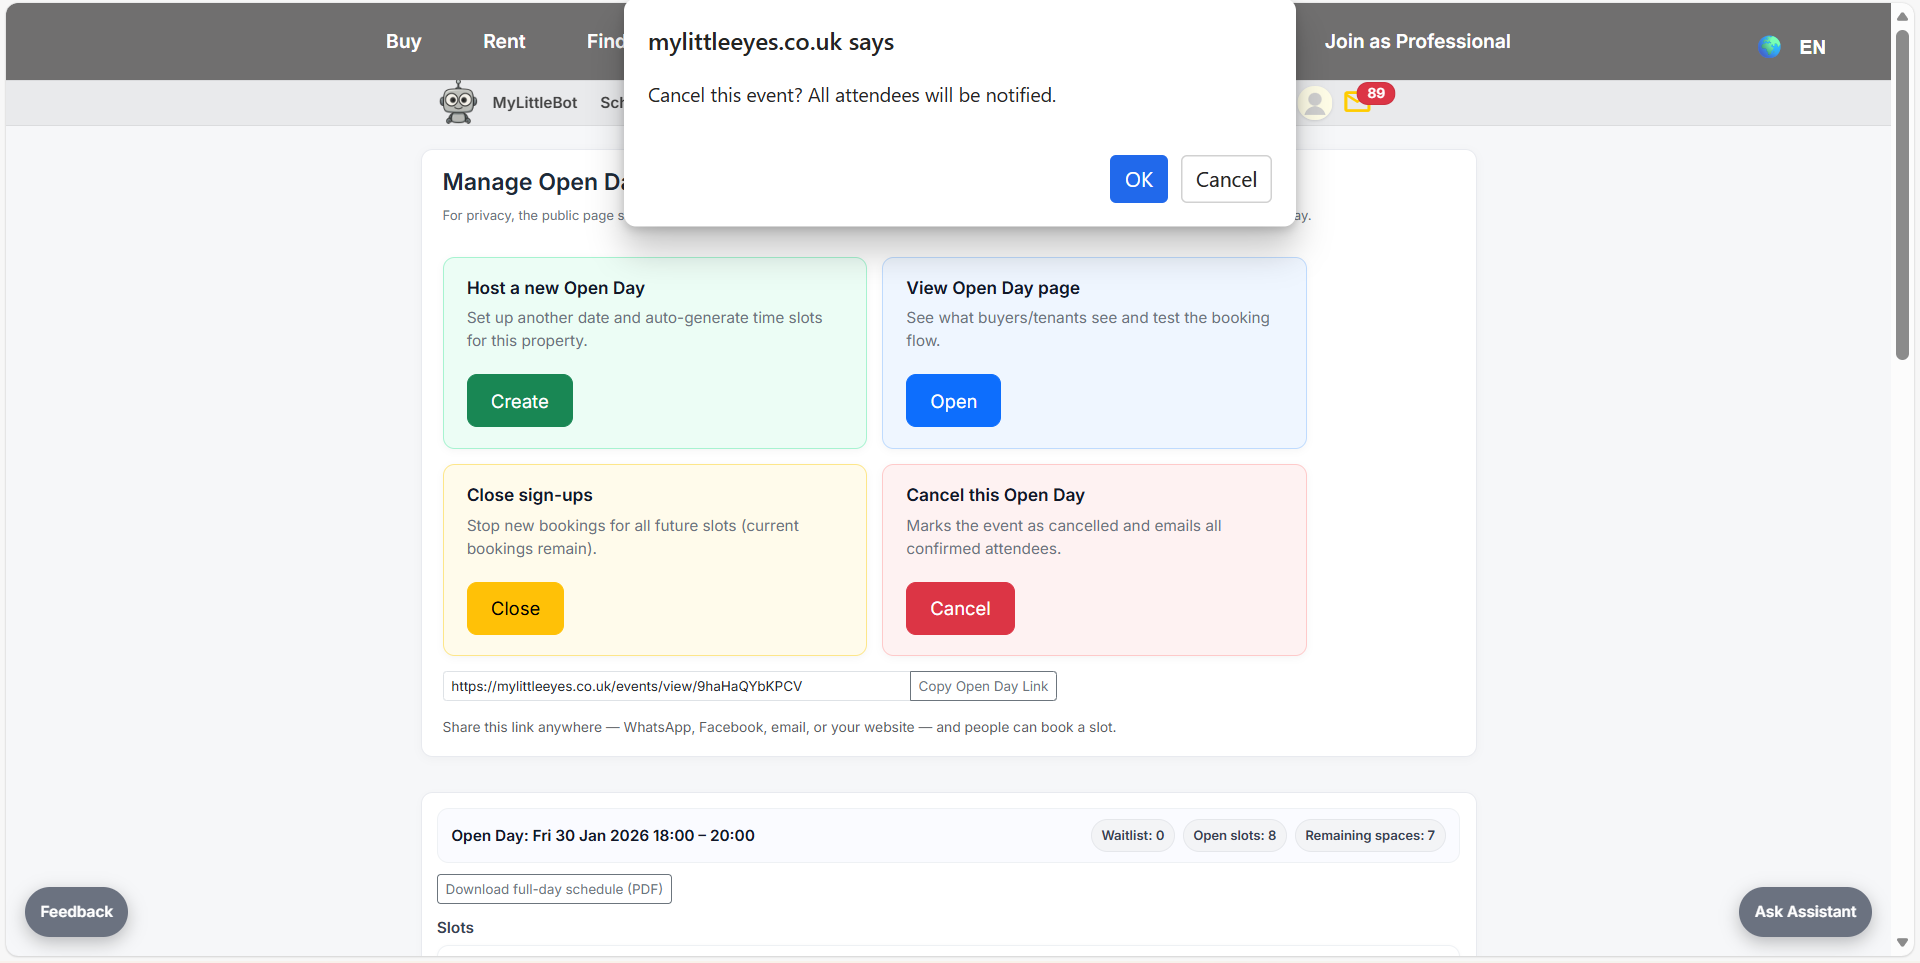
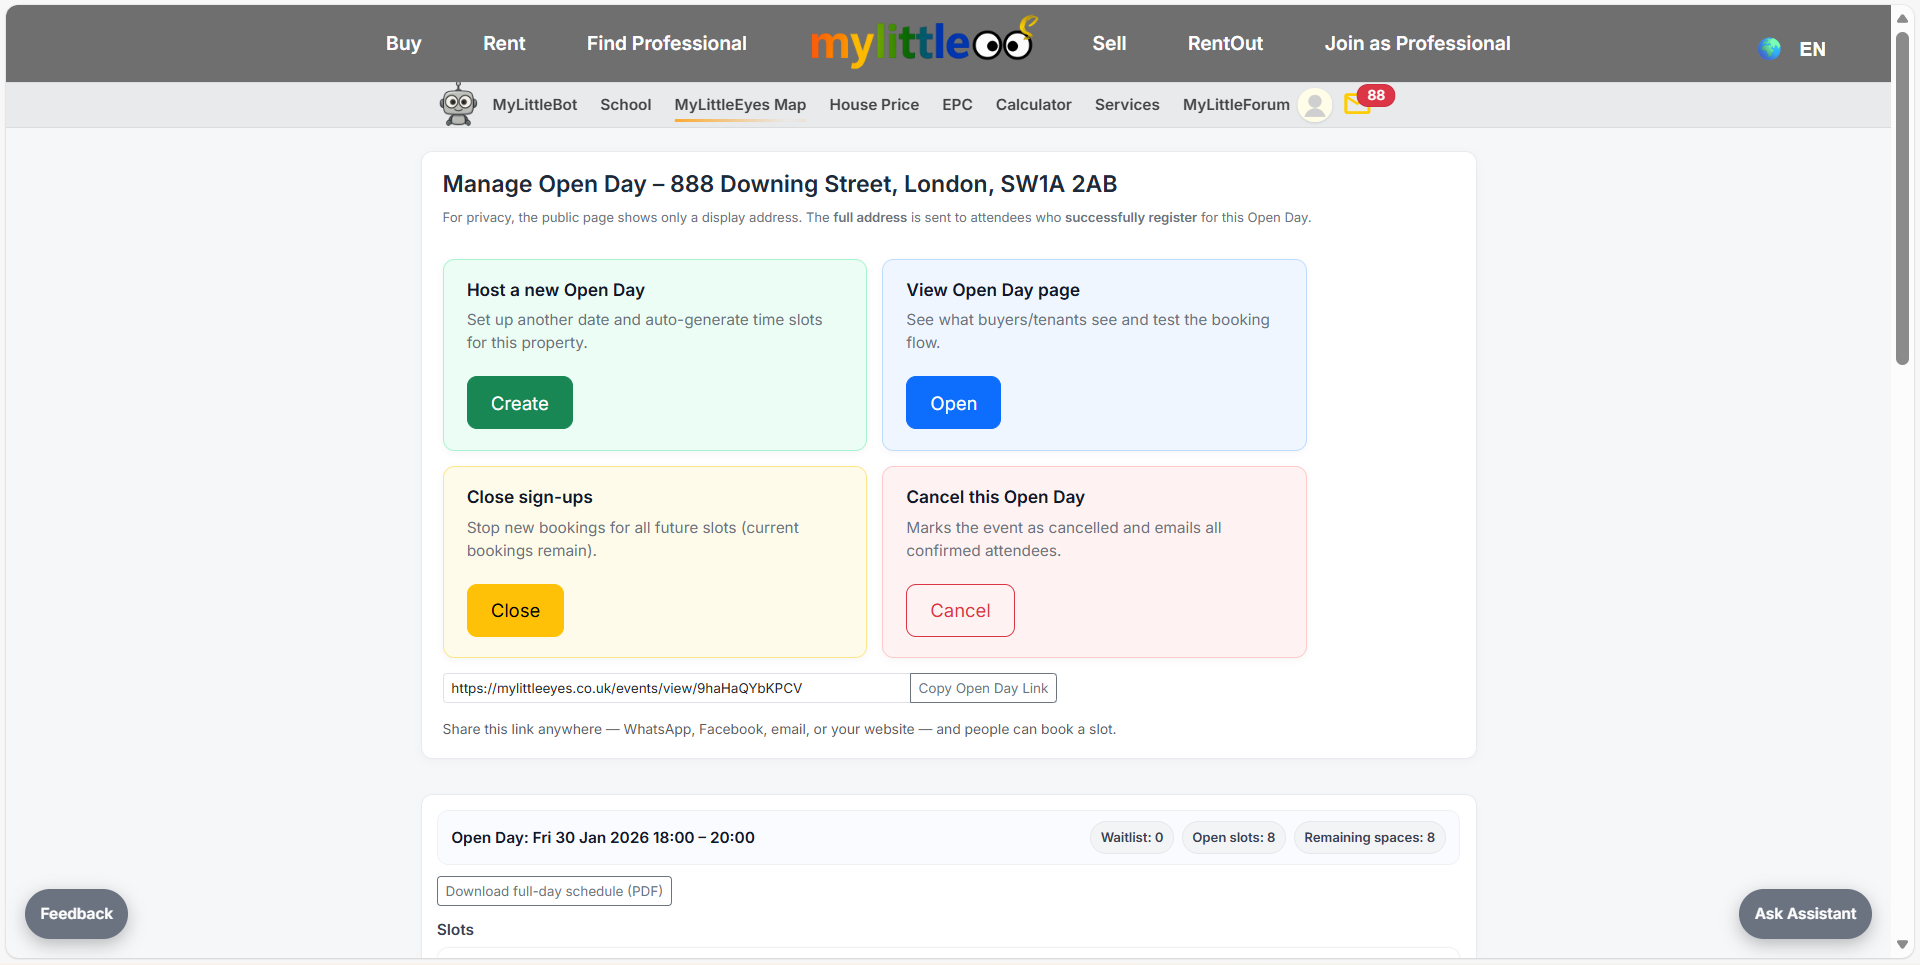
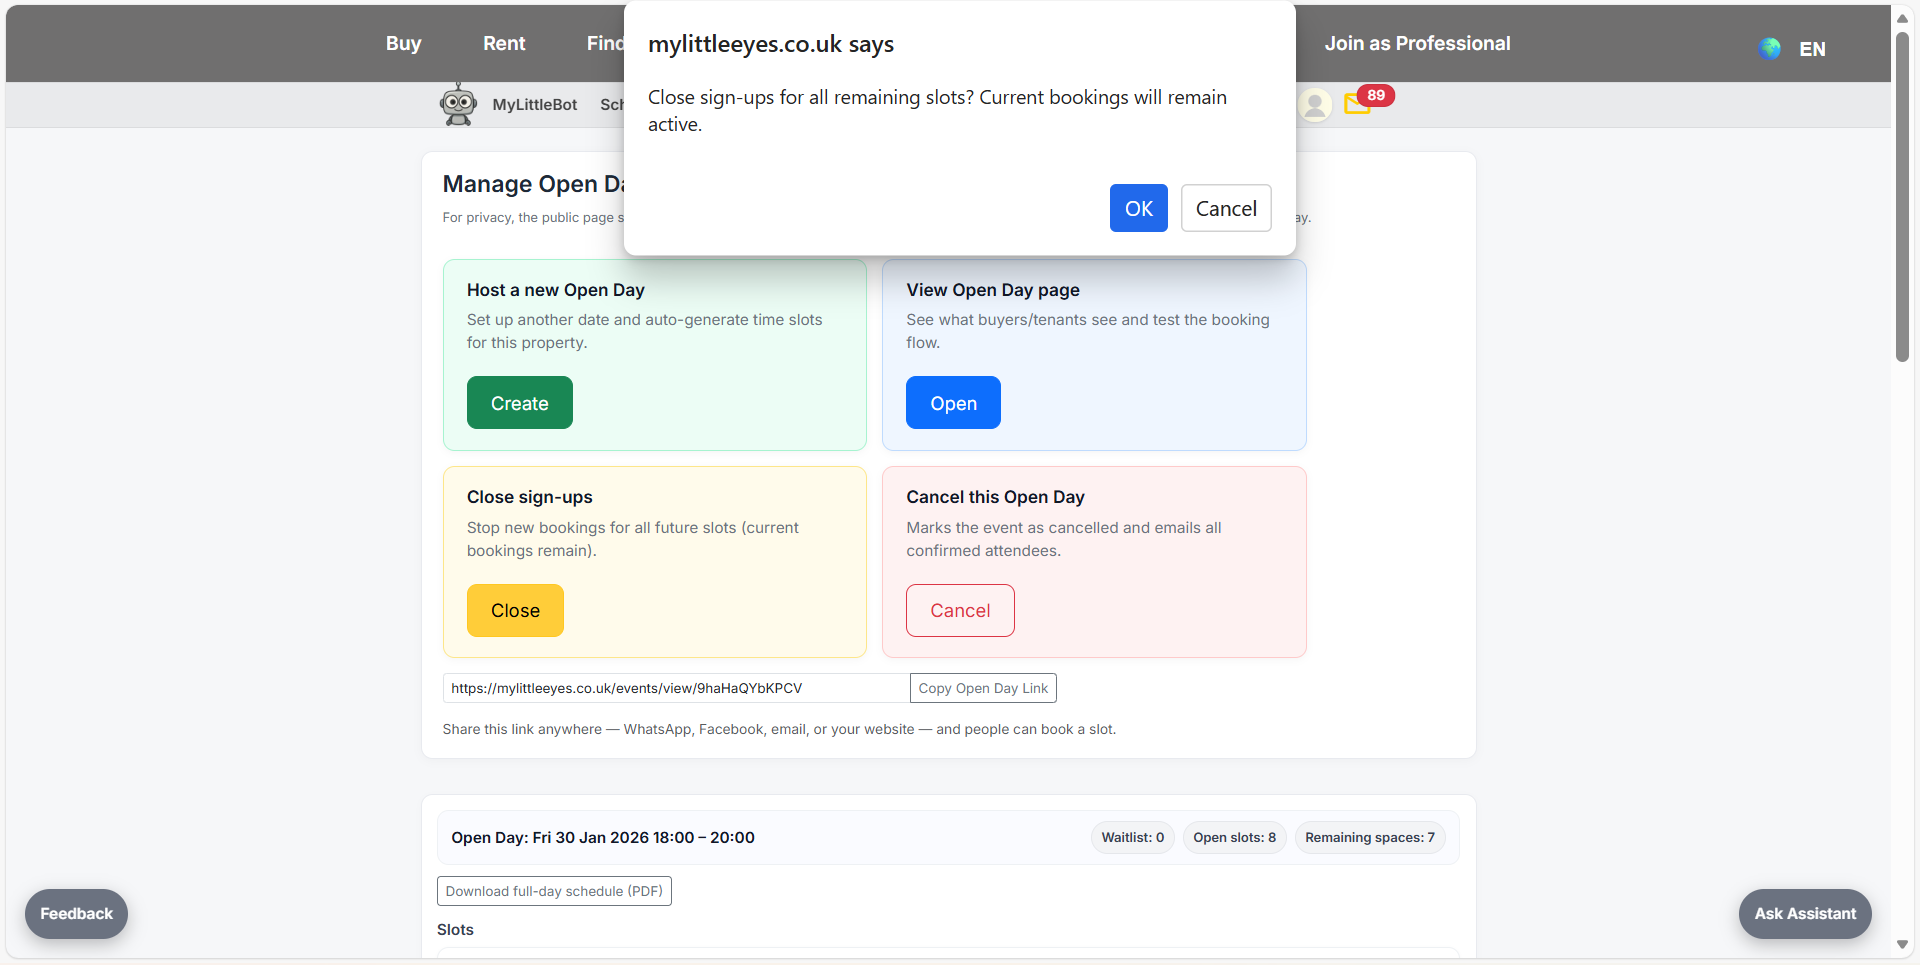
Use the Manage Open Day panel to view the public page, close sign-ups, or cancel if needed.
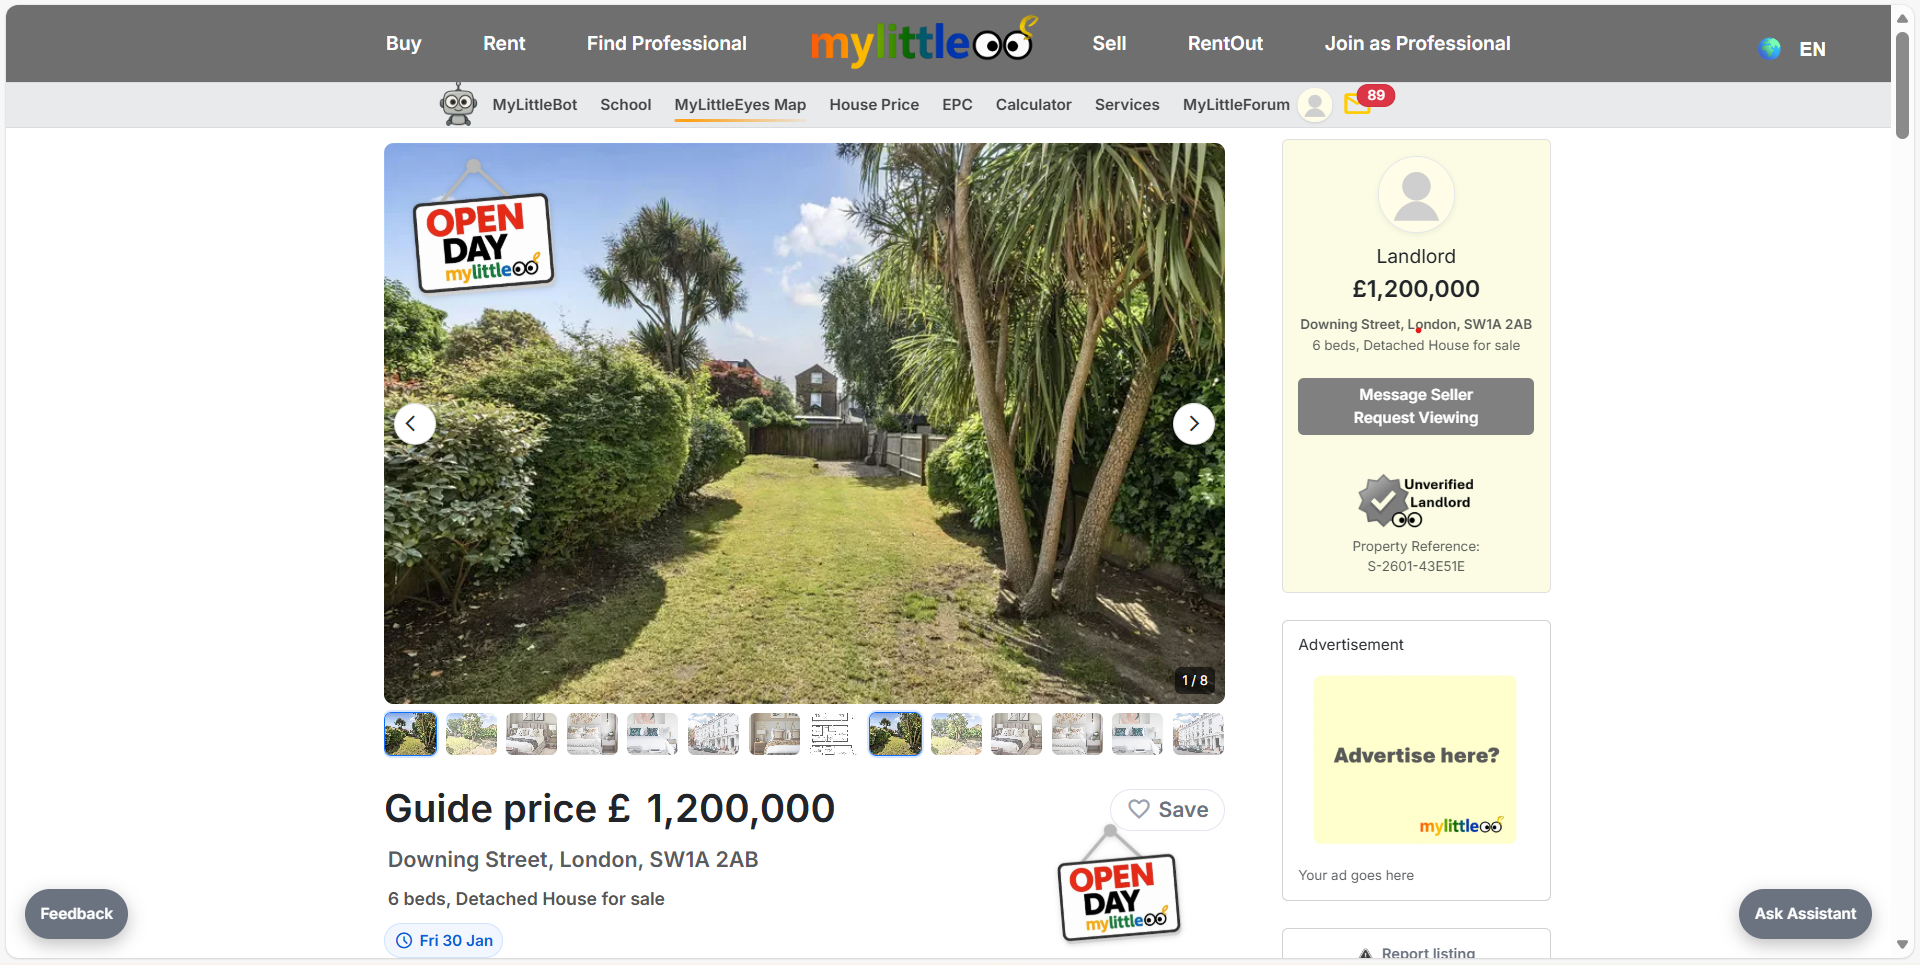
Your live listing shows an Open Day badge so buyers can notice and click through.
Open the attendee view to see how slots display and to test the booking flow.
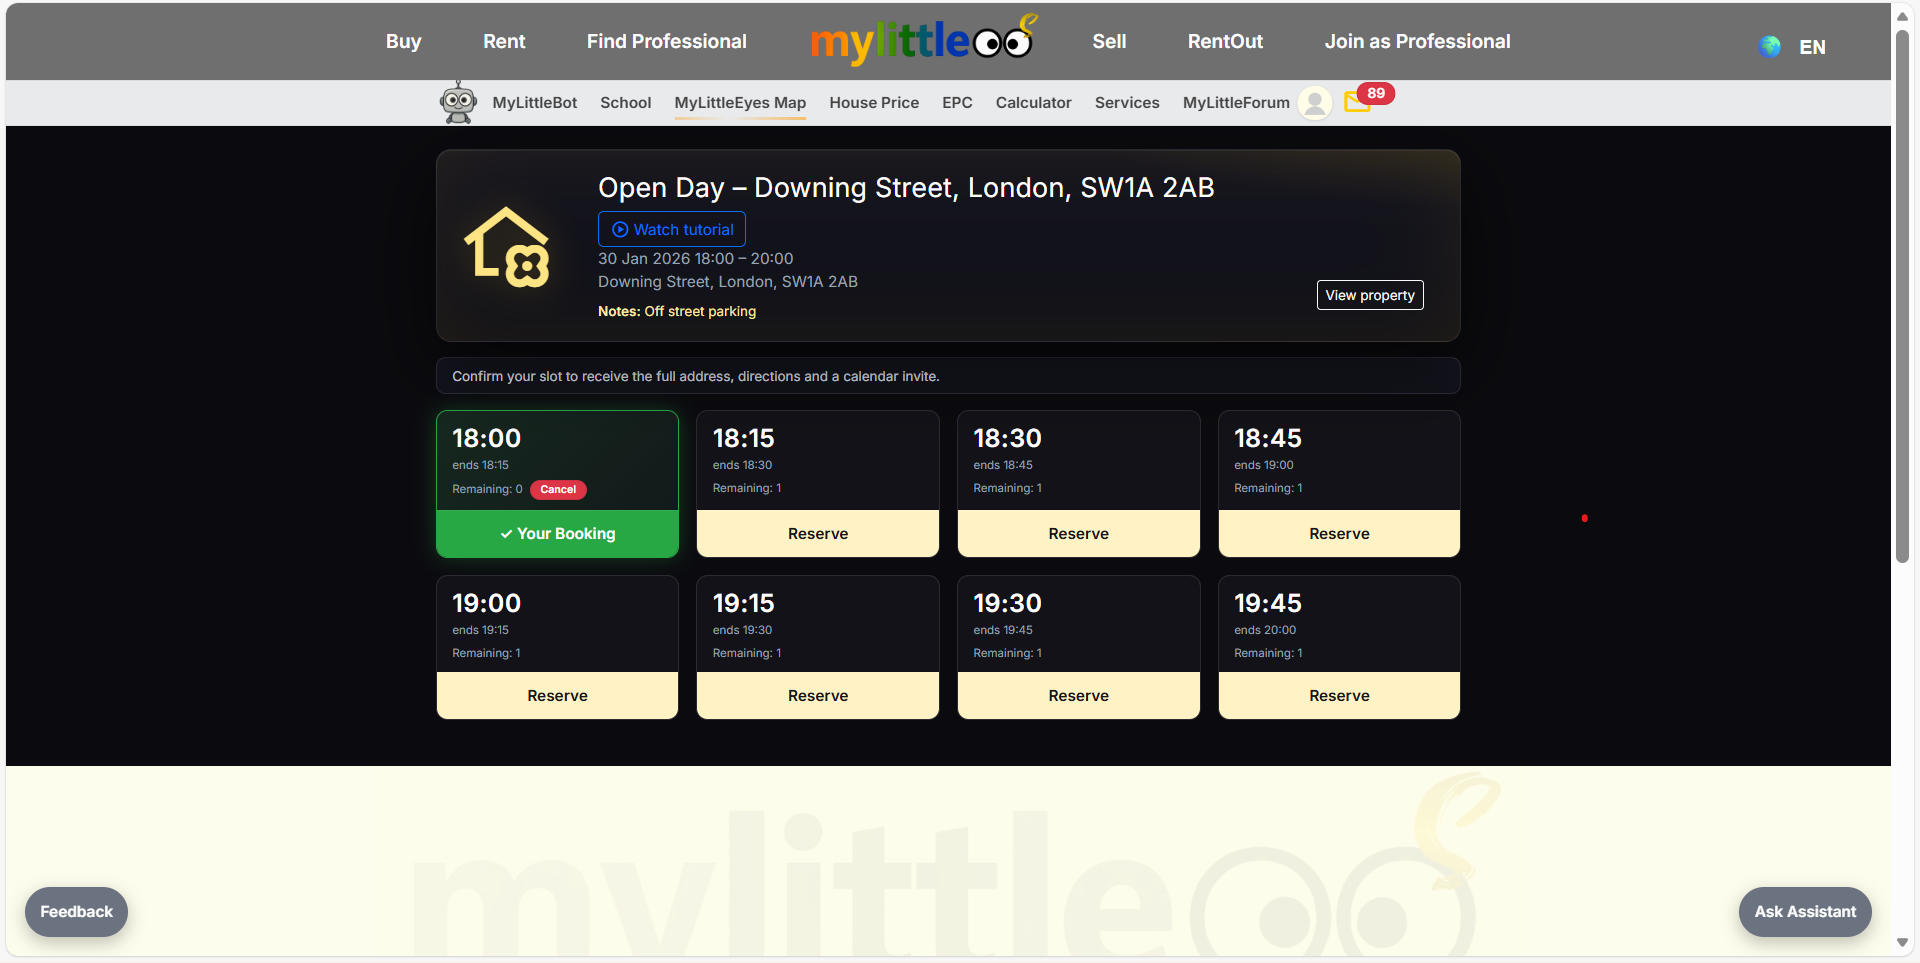
Monitor each slot’s status, resend confirmations, and see remaining capacity.
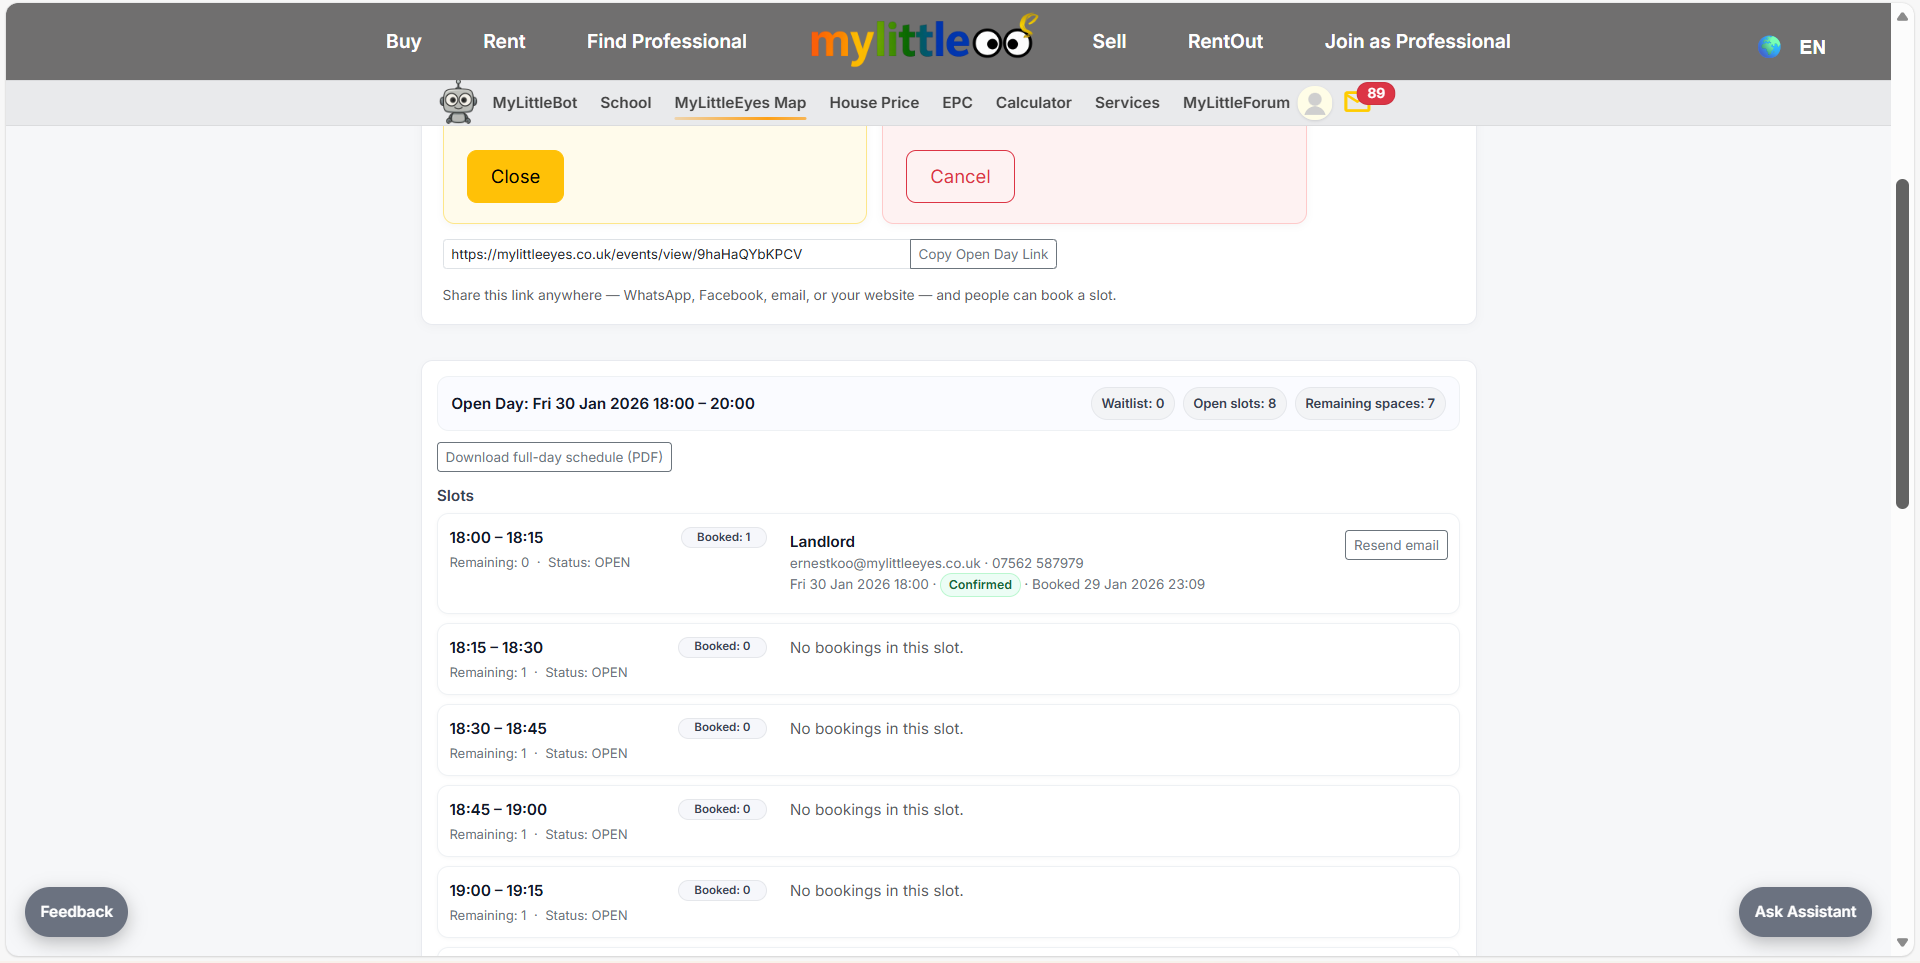
If you need to stop new bookings, close sign-ups; existing bookings stay confirmed.
If necessary, cancel the open day—attendees are notified automatically.